Worklist- Leads
Upon successful “Login” , user will be directed to the “ Landing Page ”.
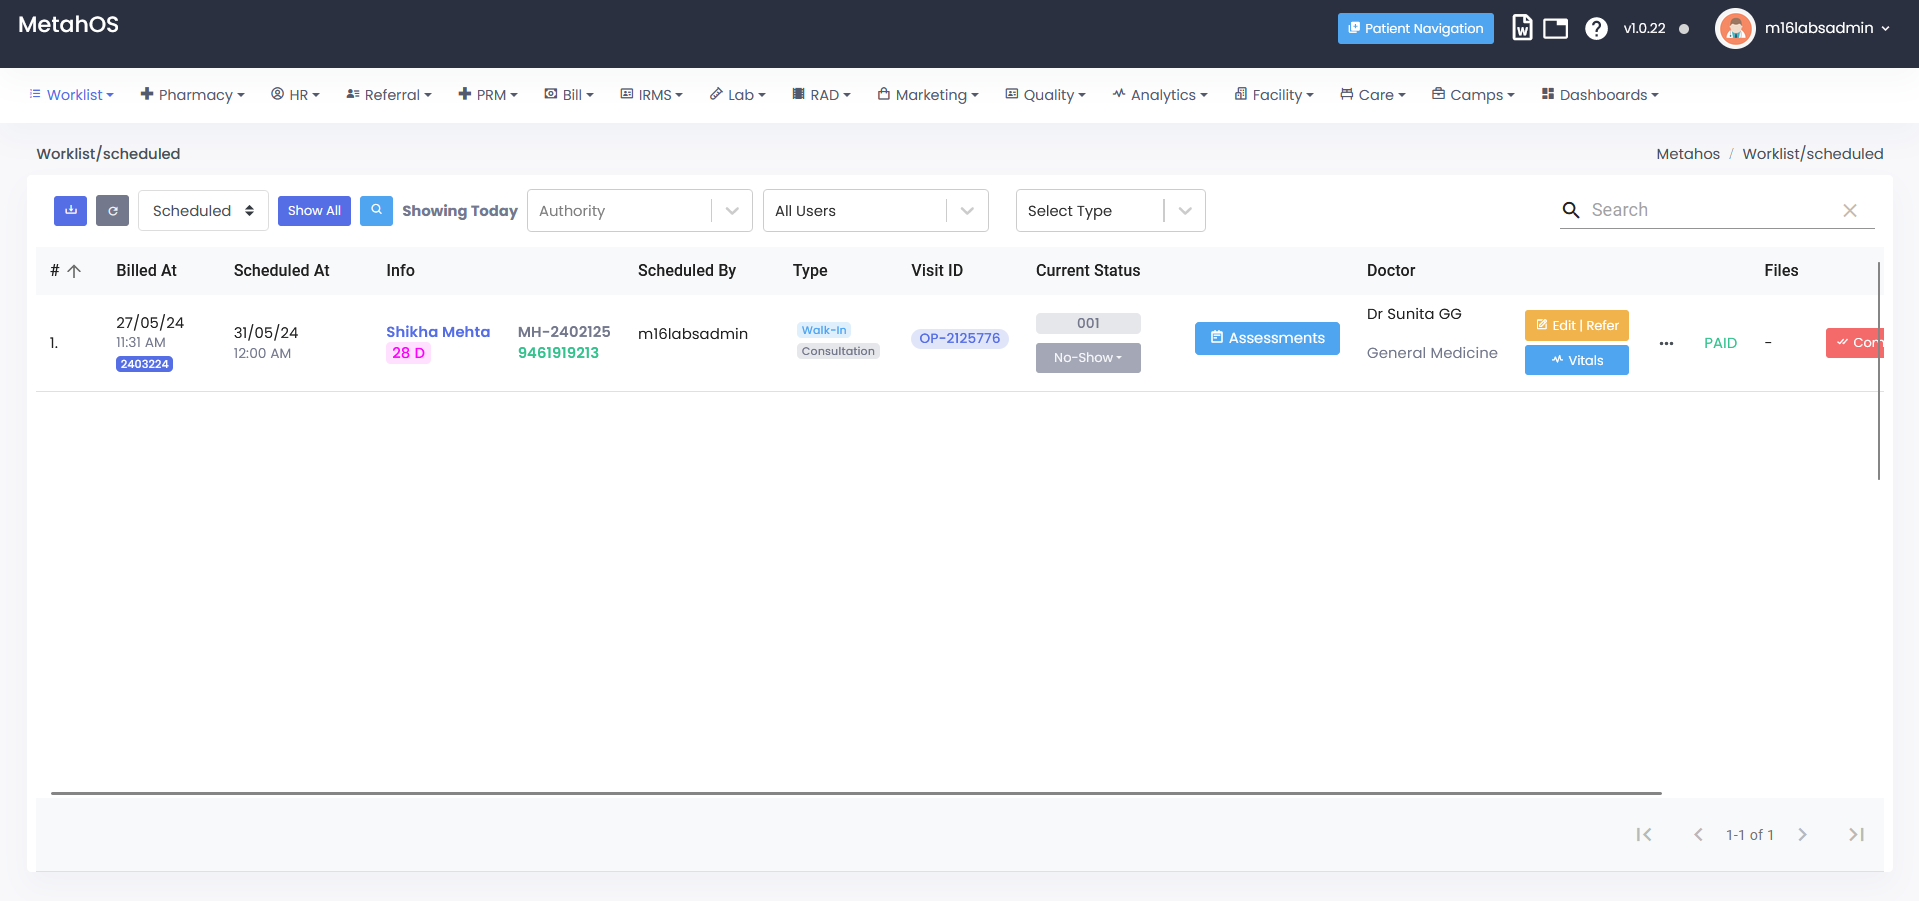
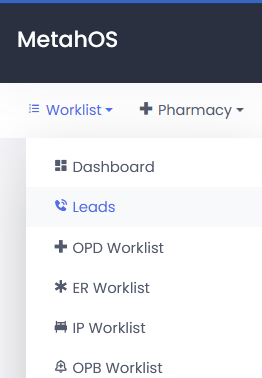
Click the "Worklist" module button on the landing page.

Choosing from a dropdown menu- "Leads"
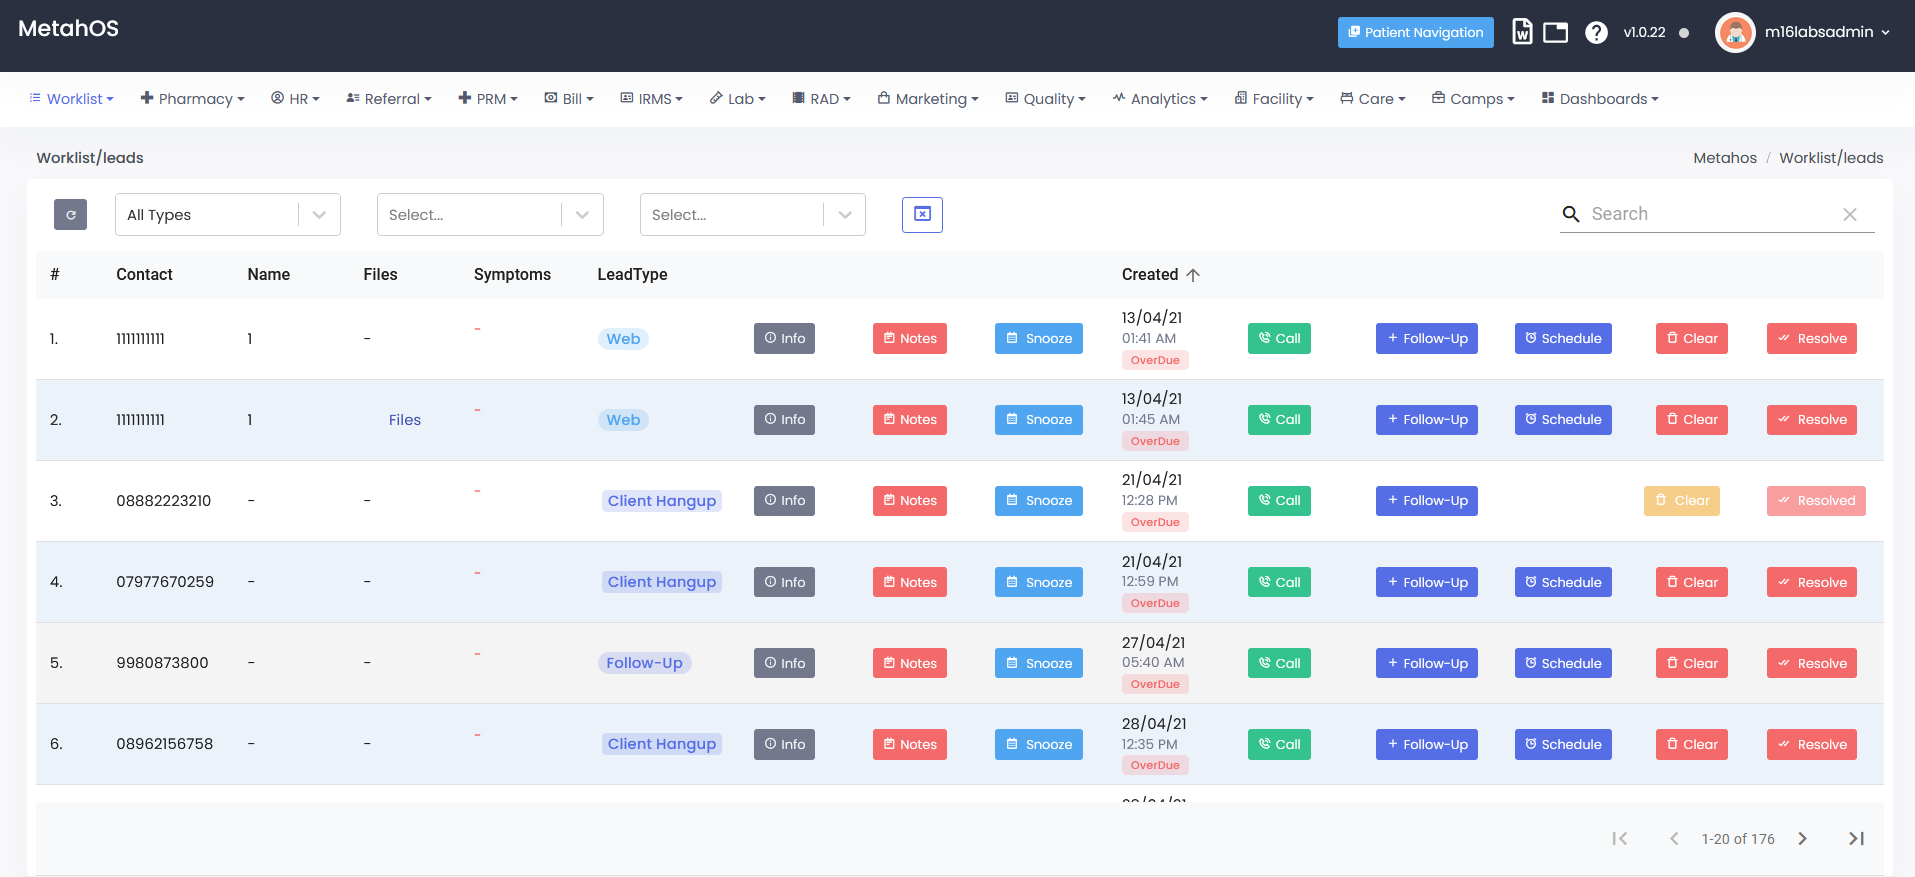
The “Leads screen” will present user with a visual overview of key information.
-The Leads Frame provides a centralized view of the current leads and their details.
-Here’s a breakdown of the typical elements:Types
Due
Resolved
Cleared/ Uncleared Leads
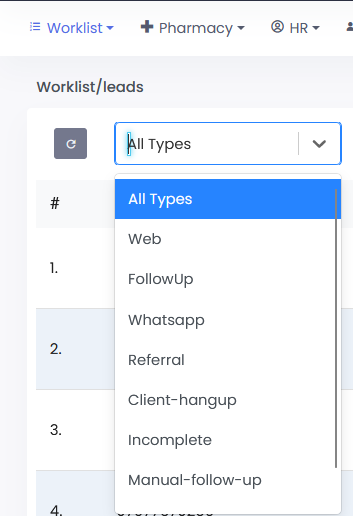
Selecting "Lead Types" in the Leads Frame
-Leads Frame might categorize leads based on various criteria in Dropdown Menu, include:
- All Types: This option displays all leads in your system, regardless of category.
- Web: Leads generated through your website, such as contact forms or live chat interactions.
- Follow Up: Leads requiring further communication or action from the sales team.
- WhatsApp: Leads generated through WhatsApp interactions.
- Referral: Leads obtained through referrals from existing customers or partners.
- Client Hangup: Leads who disconnected during a call or expressed disinterest.
- Incomplete: Leads with missing information that needs to be completed before proceeding.
- Manual Follow-Up: Leads requiring manual follow-up efforts outside of automated systems.
- Camp Follow-Up: Leads generated or requiring follow-up through marketing campaigns (specific to the system).
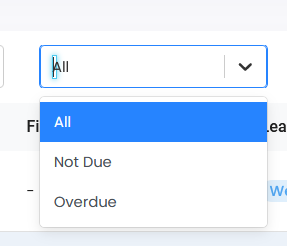
"Due Filter" Options in the Leads Frame
-This section explains the functionality of the “Due Filter” dropdown menu within the Leads Frame.
-Dropdown Menu include-All
Not Due
Over due
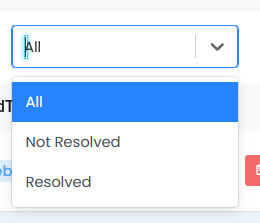
"Resolved Filter" Options in the Leads Frame
-Here’s a breakdown of the typical options user might encounter:
- All: This option displays all leads in the system, regardless of their resolution status.
- Not Resolved: This option displays leads that are still ongoing and haven’t reached a conclusive outcome.
- Resolved: This option displays leads that have been marked as completed, either through successful conversion, disqualification, or another finalized state.
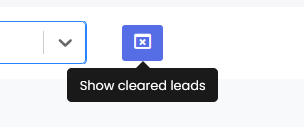
- Select the “ Crossed Box ” for the *“Cleared and Uncleared Leads”
-A square box with an “X” mark** through it can visually indicate that the leads have been cleared or removed from the active list.
Lead List:
-This section will display a list of all the current leads.
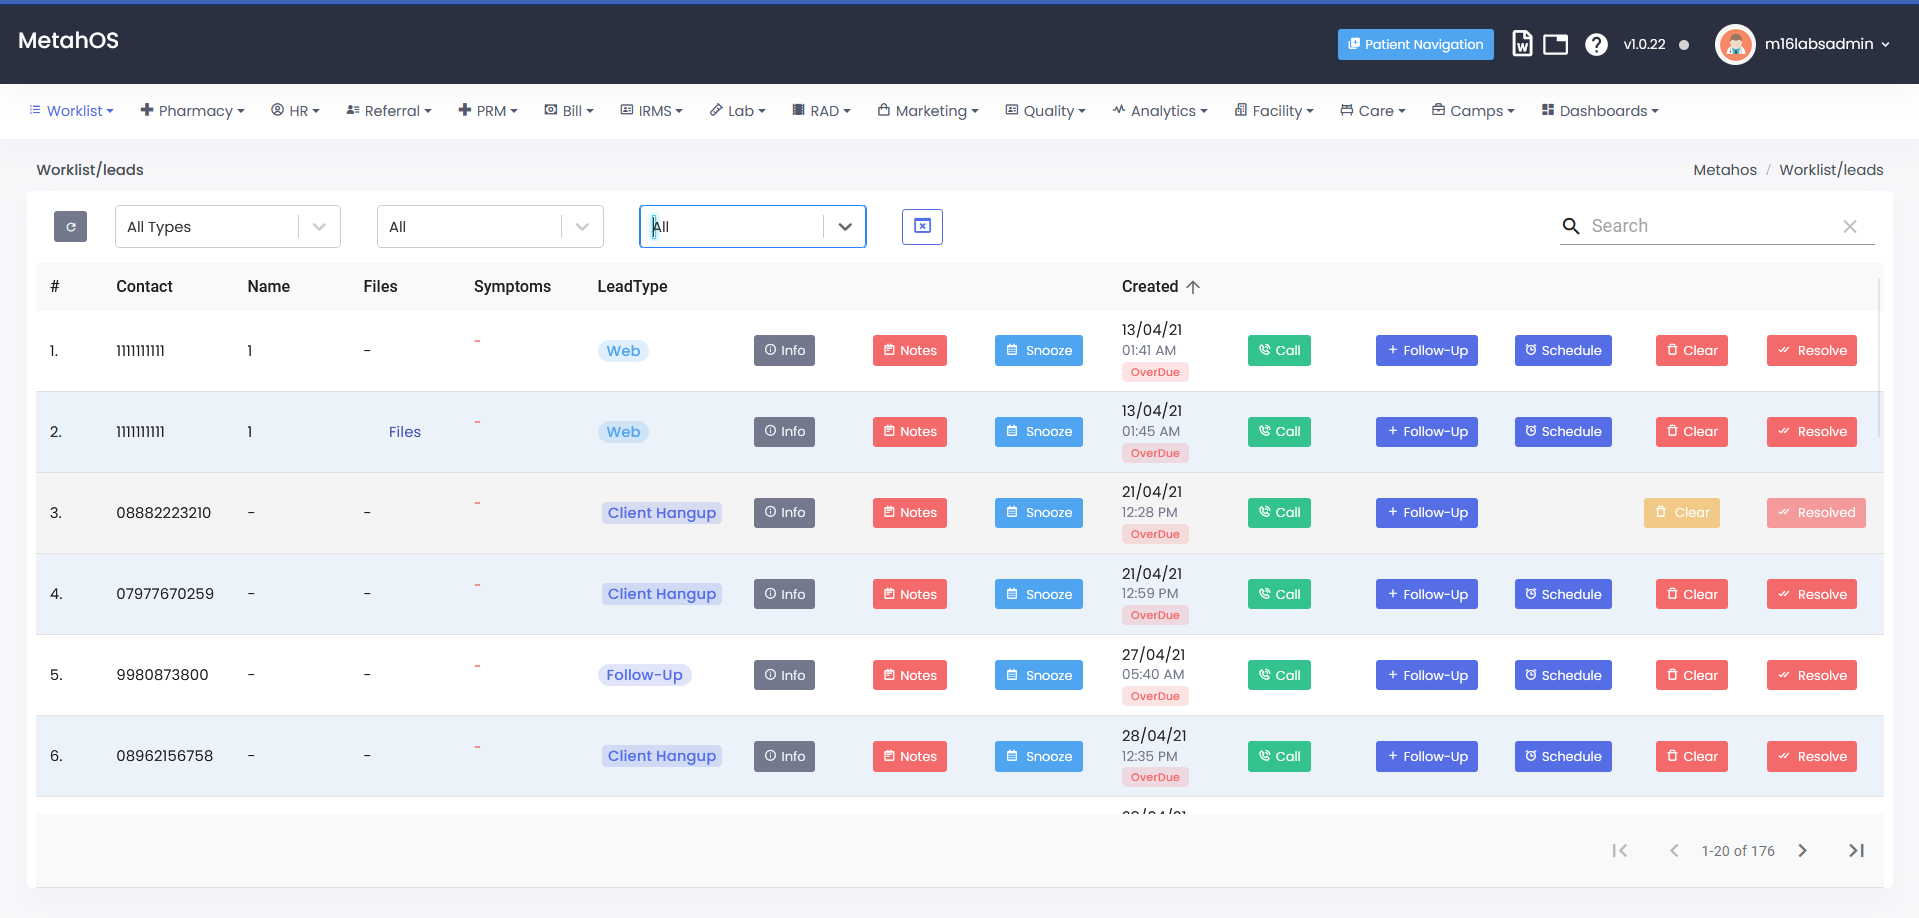
Each lead entry might include information such as:
1.Contact Information (Email, Phone Number)
2.Lead Name (Company/Individual)
3.Files
4.Symptoms
5.Lead Type (e.g., Website form, Referral)
6.Lead Information
7.Notes
8.Snooze
9.Created Date
10.Lead Status (New, In Progress, Closed Won/Lost) (if applicable)
11.Follow -up
12.Schedule

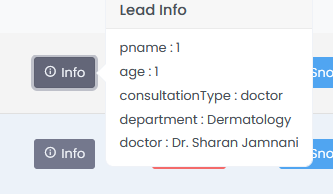
- Clicking on a "Lead Info" within the Leads Frame will display a pop-up window containing detailed information about the lead.
-This pop-up serves as a quick reference for essential details relevant to the lead.
Typical Information Displayed:
Patient Name: The full name of the patient associated with the lead.
Age: The patient’s age, if provided.
Consultation Type: The type of consultation the patient is seeking (e.g., General Check-Up, Dermatology Consultation).
Department: The department or clinic where the consultation is requested (e.g., Cardiology, Pediatrics).
Doctor : If a doctor has been assigned to the lead, their name might be displayed here.
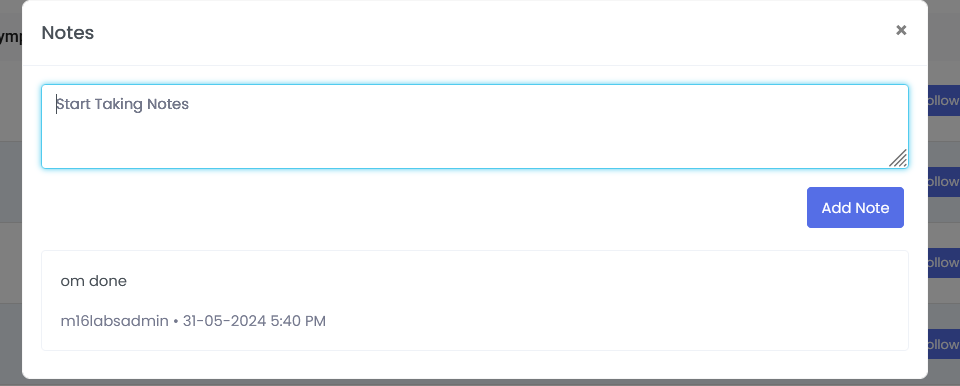
Adding Notes to Leads
-Steps included:
1.Locate the Lead
2.Click on the Notes Icon
3.Compose Your Note
4.Click “Add Notes”
5.Notes will be updated
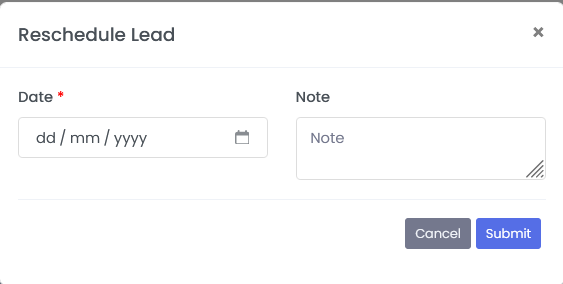
- Rescheduling Leads
-There might be situations where you need to reschedule an appointment or follow-up action associated with a lead.
-Steps involved:
1.Locate the Lead
2.Access Reschedule Option
3.Enter New Date
4.Optional Note (System-Specific)
5.Click “Submit”
- Adding Follow-Ups to Leads
-Follow-up tasks help you stay organized and ensure timely communication with your leads.
1.Locate the Lead
2.Access Follow-Up Option
3.Enter Follow-Up Date
4.Add Follow-Up Information
5.Assign User
6.Click “Add Follow-Up”

- Scheduling Lead Activities
-The scheduling feature allows the user to set reminders, plan follow-up actions, and manage the interactions with leads.
-Options user will encounter:
- Search Existing Records
- Lead Information
- “+” Button to create New Schedules

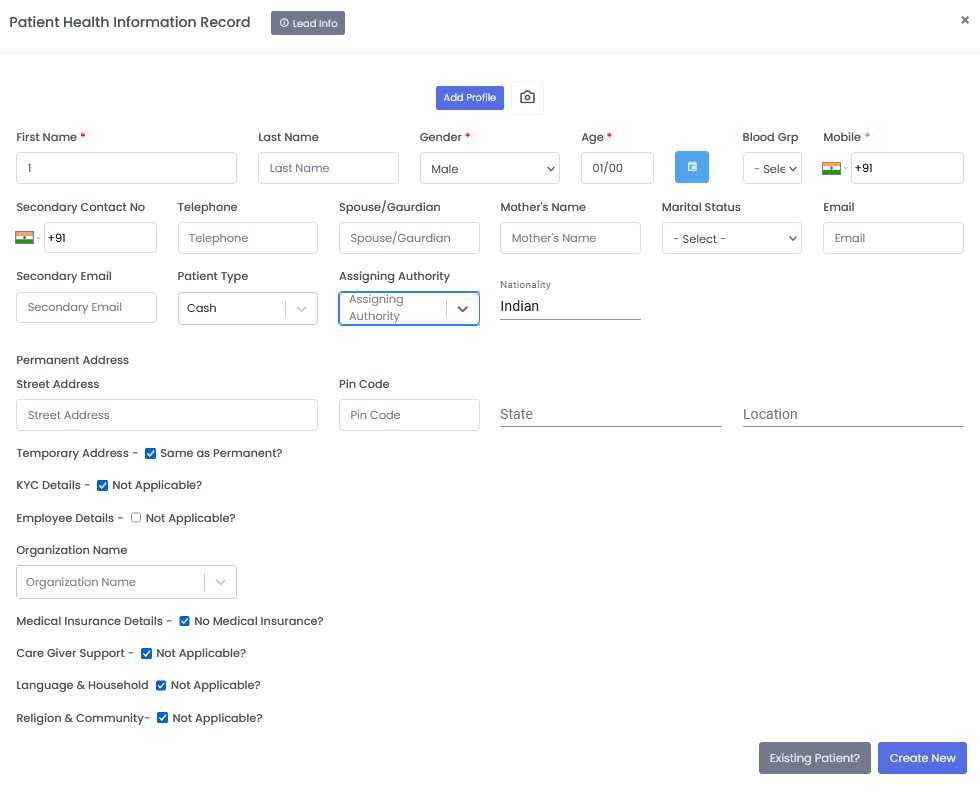
Click “+” Button to Create New Schedules
-Enter the details and select your preferences, click the button labeled “Create New” to confirm and schedule the activity
Clearing Leads
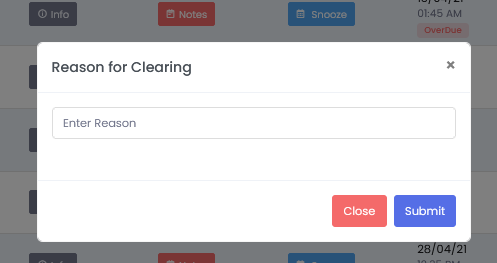
-There might be situations where leads need to be removed from the active list.
-Steps:
1.Locate the Lead
2.Click the “Clear” Icon
3.Reason for Clearing
4.Enter Reason
5.Click “Submit”
Resolving Leads
-The "Resolve" function allows the user to mark a lead as complete.
-Steps:
1.Locate the Lead
2.Access Resolve Option
3.Reason for Resolving
4.Enter Reason
5.Click “Submit”

Navigating Lead Pages
-Look for the pagination controls in the lower right corner of the Leads Frame
-An arrow pointing left ( “<” or similar) typically represents the “Previous Page” option.
-An arrow pointing right ( “>” or similar) typically represents the “Next Page” option.
